On February 16th 2022, Microsoft announced the first big evolution for Windows 11, with Dev Build 22557; the list of changes was long, and juicy, but what gave everyone a chill down the spine was this:
Similar to Windows 11 Home edition, Windows 11 Pro edition now requires internet connectivity during the initial device setup (OOBE) only. If you choose to setup device for personal use, MSA will be required for setup as well. You can expect Microsoft Account to be required in subsequent WIP flights.
Acshually, a Microsoft account has always been mandatory to be an Insider; but what this reveals is that Microsoft is considering dropping one of the main reasons why many users prefer to use the Pro edition of Windows, even if it is more expensive.
From now on, anyone who needs or wants the other advantages of Pro (BitLocker, Remote Desktop Connection from other computers, Hyper-V and WSL2, support for more than one CPU) also needs to have a Microsoft account, or a domain account.
The trick everybody used since Windows 10 was to turn off all network connections and say that you wanted to use a domain account; unable to reach any Domain Controller, this resulted in a timeout and the offer to create a local account.
Maybe this is what Microsoft will block going forward, by not presenting the alternative of local account creation at all.
Wat do?
The alternative will be to use the installation environment and Windows deployment facilities to jump over the whole Out-Of-Box-Experience (OOBE) process, where the NetFlow process, which forces the use of a Microsoft account, is included. For now Windows Setup itself hasn’t been changed very much in Windows 11, despite Microsoft pushing SMEs that insist on having local computers to use Azure Active Directory + Intune/Endpoint Configuration Manager + Autopilot for deployment instead of the classic Windows Server + Windows Deployment Services (which is no longer supported by Windows 11 anyway).
boot.wim on WDS no longer PXE boots; a bespoke boot.wim has become necessary, either by ECM, by Deployment Toolkit (MDT) or by other tools.There’s also the option of modifying the boot.wim to connect to a network share and launch Windows Setup
Or doing it like an OEM using a script to do everything by hand
(source)
Of course both ECM and MDT need Volume Licen$ing…
Unattended Setup
Windows Setup’s automation is configured through an Answer File in XML format (generally named unattend.xml).
This file may reside in several places, but the most usual are:
%WINDIR%\Panther\unattend.xml- Root of the drive from where Windows Setup was launched
- Root of a removable drive present during Windows Setup
- Root of the network share from where Windows Setup was launched
Autounattend.xml and unattend.xml aren’t the same:
Autounattend.xmlcontains the specific information for the initial steps of Windows Setup: Windows Setup and installed Windows language definitions, keyboard layout, regional formats, disc partitioning and partition where Windows must be installed, Upgrade or Clean Install, Product Key, and, I presume, driver slipstreaming and specialization after the first reboot.unattend.xmlcontains the rest and runs during the second reboot (the userAudit and oobeSystem configuration passes)
The file controls the various steps of the installation process and can be created by point-and-click with the Windows System Image Manager (SIM) tool (part of the Assessment and Deployment Kit - ADK), or in the Windows Answer File Generator site.
But let’s make it easier on ourselves.
To skip OOBE and the requirement of having a Microsoft account, we just have to automate the following operations:
- Automatically answer (or skip) the OOBE questions, thereby avoiding the account creation step within it
- Create one (or more) local accounts in the SAM database
And I’ll add two conveniences, which are:
- Location Settings
- Time zone configuration
Header
The file starts with the XML header and the declaration of the oobeSystem setup pass:
|
|
Our configurations will be placed inside the <settings> tags.
Location settings
I usually install from English-International ISOs, but still want to keep my keyboard layout and regional formats as pt-PT; to view the list of values that you should input for other language, keyboard and regional format options, check this page
The values to configure are:
InputLocale: keyboard layoutSystemLocale: country or regionUILanguage: Windows languageUserLocale: system locationUILanguageFallback: fallback language for non-completely-localized UI language options (it’s usuallyen-USbut for English-International it’sen-GB)
|
|
OOBE Configuration
Place the OOBE settings afterwards.
|
|
The details of the ProtectYourPC option are here; 3 just says No to everything.
Local User Account Creation
And finally the rubber hits the road, let’s configure Windows to automatically create one (or more) local SAM accounts which aren’t Microsoft Accounts.
After the</OOBE> tag but before the </component> tag, place the following:
|
|
Time Zone
And to round it up, I usually add the Lisbon time zone setting (the list of other Time Zones is here), by inserting this before the </component> tag:
<TimeZone>GMT Standard Time</TimeZone>
Full file
|
|
Save the file as unattend.xml ensuring that it is encoded in ASCII or UTF-8.
Deliver the file to Windows Setup
There are several ways of delivering the file, as seen above.
Installing from a USB flash drive
If you’re going to use something like Rufus (or Microsoft’s Media Creation Toolkit) to create an USB flash drive for installation, the file can be left on the root of hat drive. It should be automatically copied to %WINDIR%\Panther (but I didn’t test this setup).
Installing from an ISO
In case you’re using an optical disc or an ISO image file (like on a VM), there are two options.
Edit the ISO
Mount the ISO, copy the files to a folder (in this example it will be c:\isos\), use DISM to open and mount the installation image (install.wim), copy the unattend.xml file to Windows\Panther, and close the WIM image.
dism /Mount-Image /ImageFile:"c:\isos\install.wim" /Index:1 /MountDir:c:\mount
copy unattend.xml c:\mount\windows\panther\unattend.xml
dism /Unmount-Image /MountDir:c:\mount /Commit
Index number matches the Windows edition you want to install, use dism /Get-ImageInfo /imagefile:C:\isos\install.wim
Then use whatever tool you like best to create a new ISO.
I also did not test this procedure, but it should work, since it’s described in Microsoft Docs.
Place the XML on a non-bootable USB flash drive
Usually this is the simplest and easiest process to implement: save the XML to an USB flash drive that can be connected to the computer (or the VM) during installation but that can’t be used to boot the system - we still want to boot from the ISO, after all.
At a given moment during the installation process (after the second restart, when the system has gone from “generalized” to “specialized”), unattend.xml will be consumed, analyzed and copied to the C:\Windows\Panther\ folder.
In the end, it becomes mandatory to have a physical USB flash drive and connect it to the VM (through the specific setting of each virtualization platform) for applying
unattend.xml this way.
Results
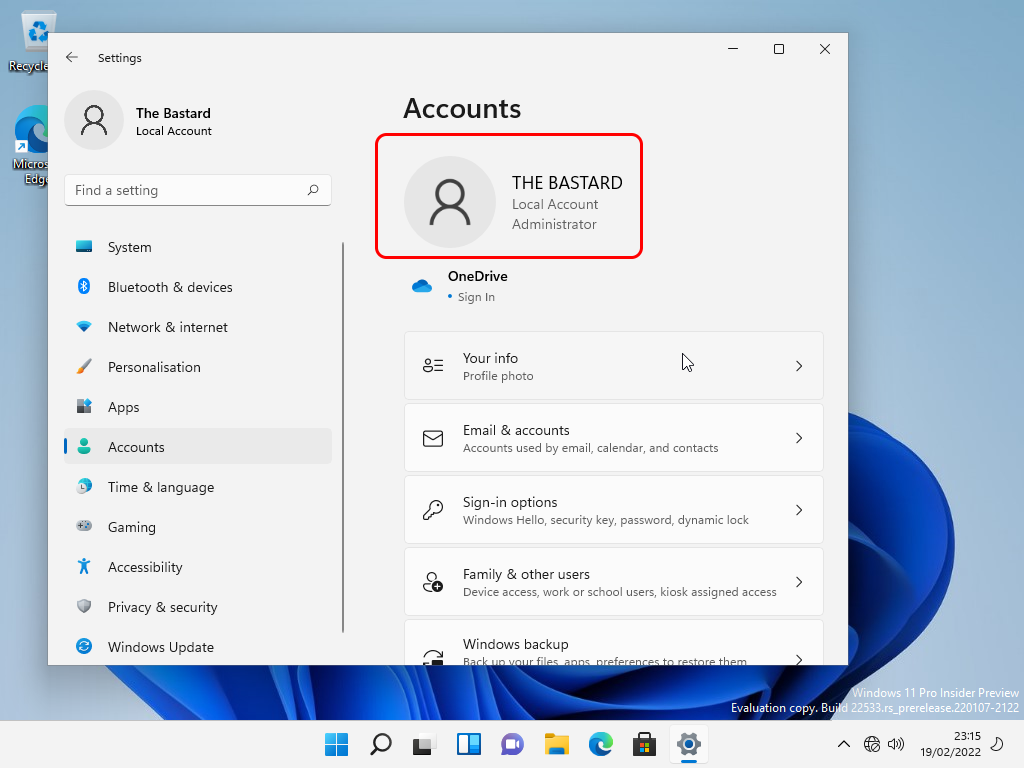
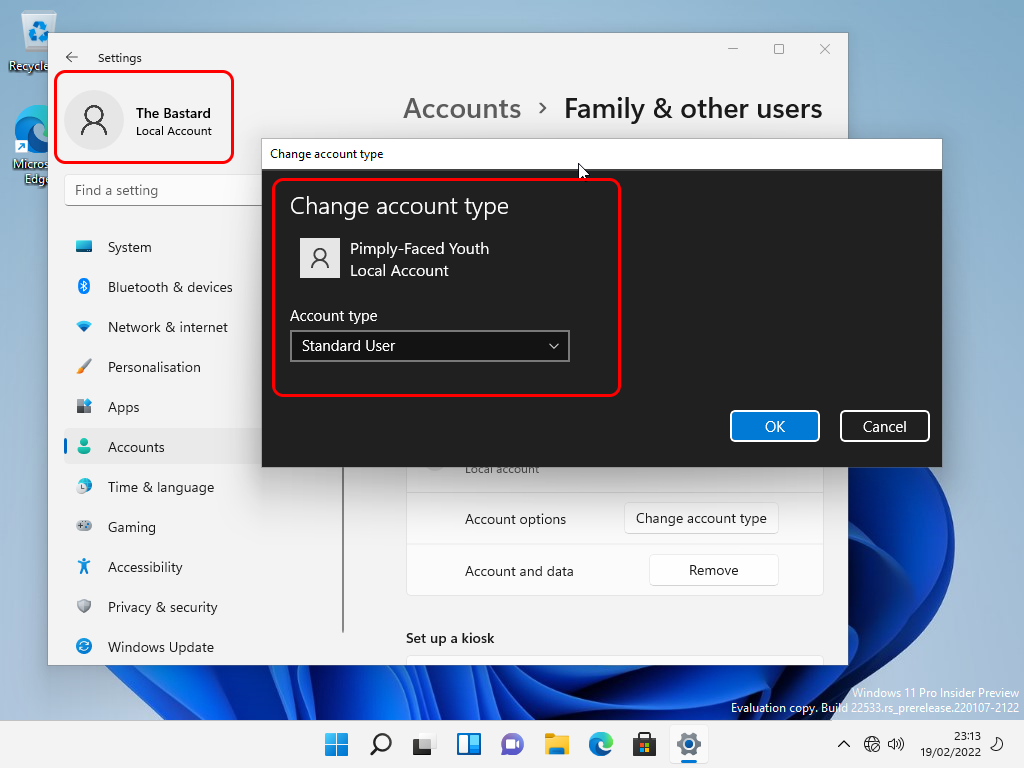
If the process does not error out by any problem with the syntax or the XML values, the accounts are created:
The output of type c:\windows\panther\unattend.xml shows that our file has been copied but the passwords have been censored as a security measure.
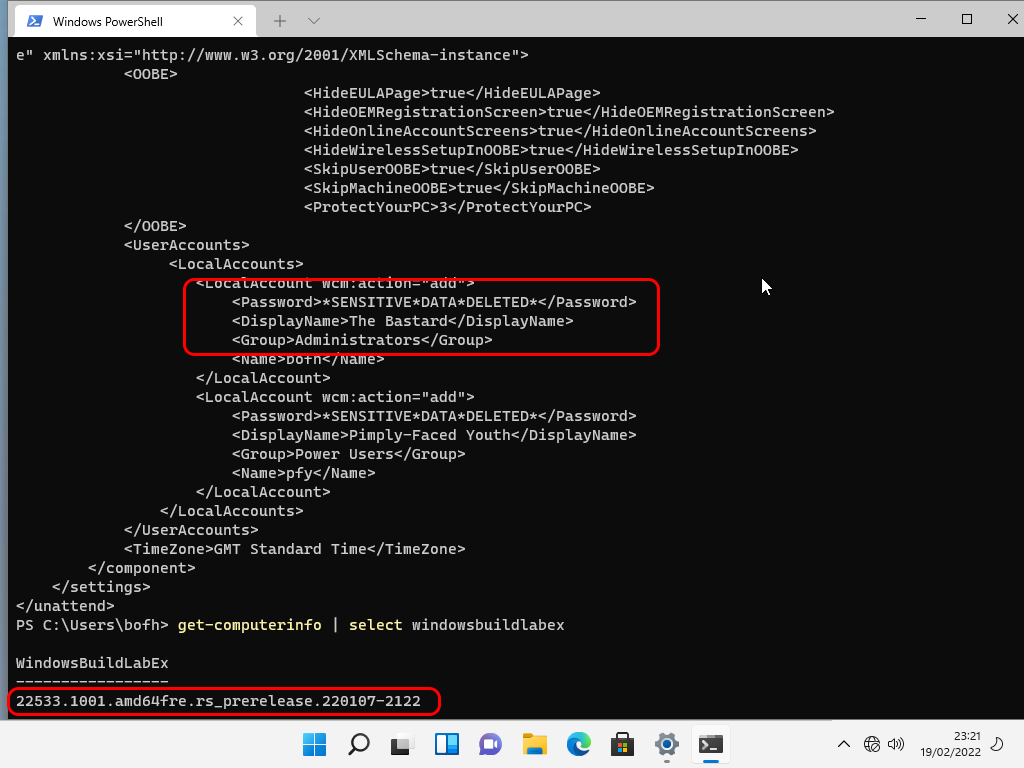
This also happens on version 21H01 of Windows 10 (I tested).
Even so, I strongly recommend deleting the file from a command-line session with administrator privileges.
Issues
The link to Windows Terminal on the “Power Menu” (Win-X or right-click on the Windows menu button) did not work until Windows Terminal was manually opened in All Apps
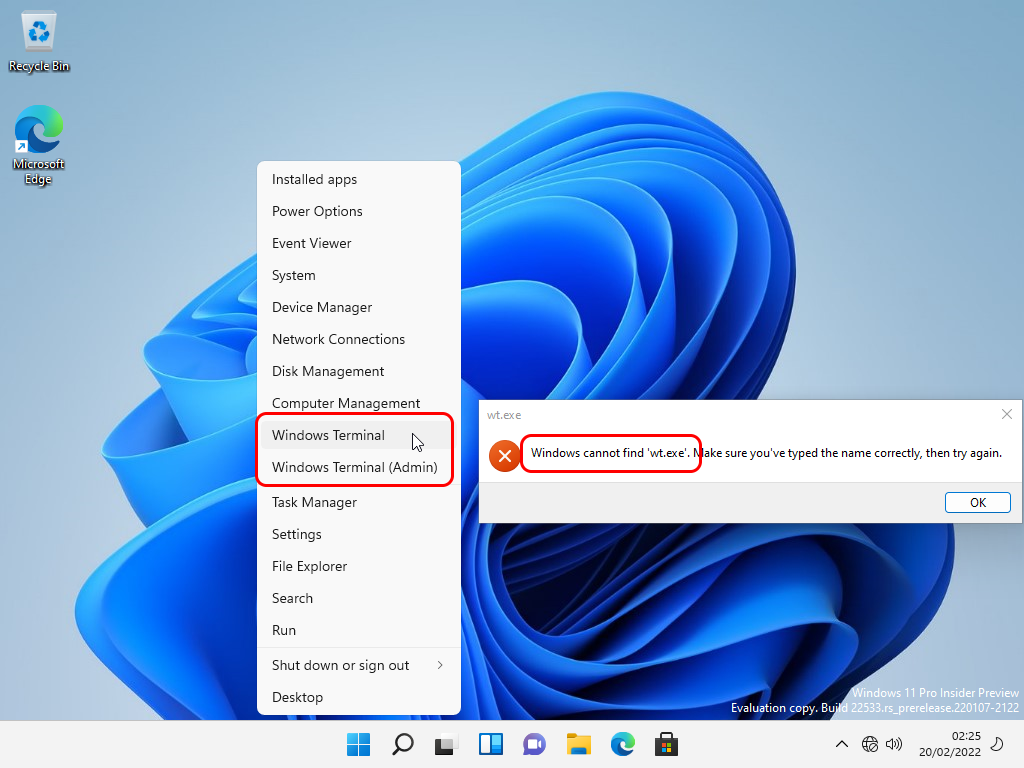

After having done this, the shortcut starts working. If it’s a problem caused by creating the account in unattended mode without going through OOBE or if it is specific to this compilation, I don’t know.
Another problem is Search not working (it can’t even look for the Windows Terminal application, the result pane stays blank).
Final Comment
Windows has been becoming more and more dysfunctional in the absence of a network connection during installation; I don’t think Microsoft is going in the right direction, but consumers decided to reward even more closed systems such as iOS and Android, and Microsoft must think that if they want to avoid becoming the new IBM they need to follow this path of pushing their current users to their cloud services, so the result is Windows 11.
As Microsoft closes itself, more and more people feel disregarded, but if they can barely wait to free themselves from Microsoft, please note that the alternatives are the total anarchy of Linux, Google’s espionage and Apple’s gilded cage.
Choose wisely. Microsoft will mostly cost money for their services, instead of predictability, privacy, or freedom.